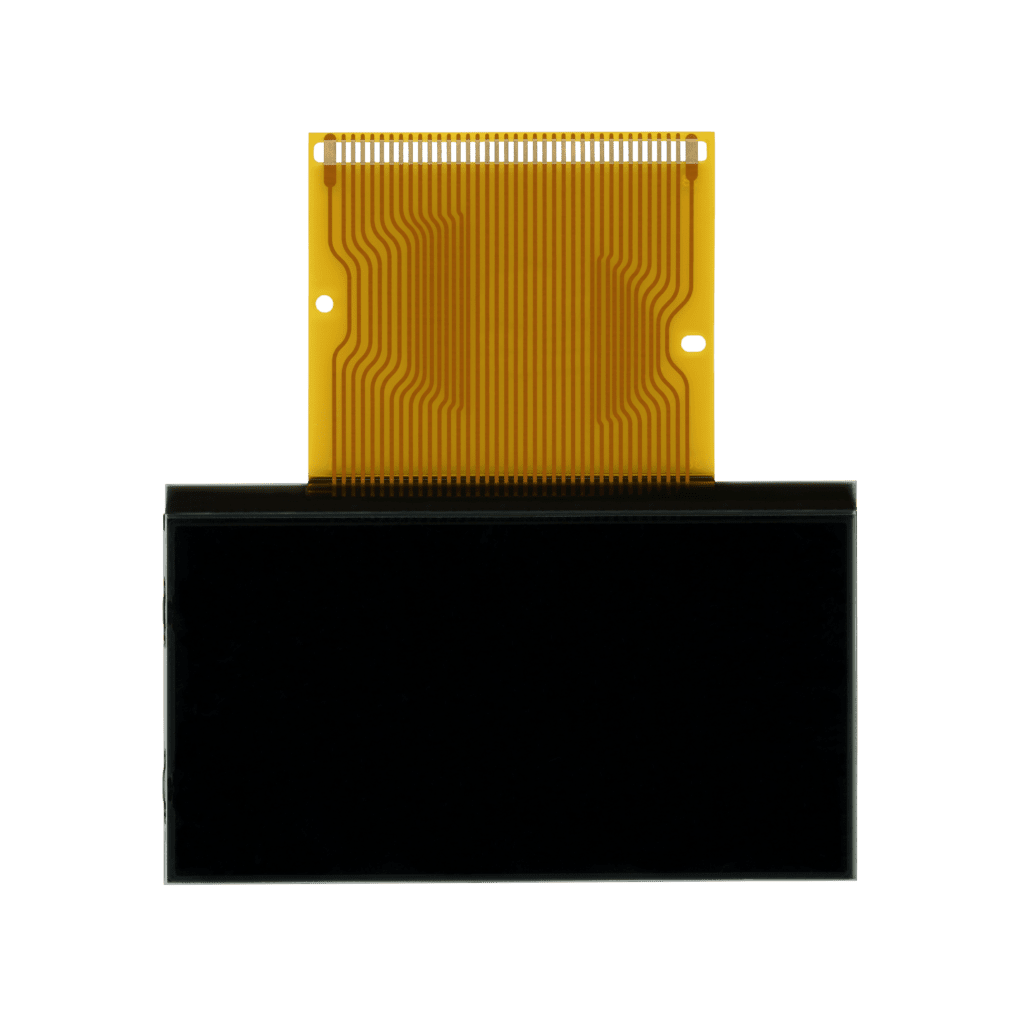
SEPDISP50A - SEPDISP50B
LCD Display Installation Instructions
Before installing the new SEPDISP50A, SEPDISP50B display, please read the following instructions carefully. For illustrative purposes, our technicians have produced a video tutorial on how to carry out odometer repair.
DO NOT SKIP ANY STEPS.
1
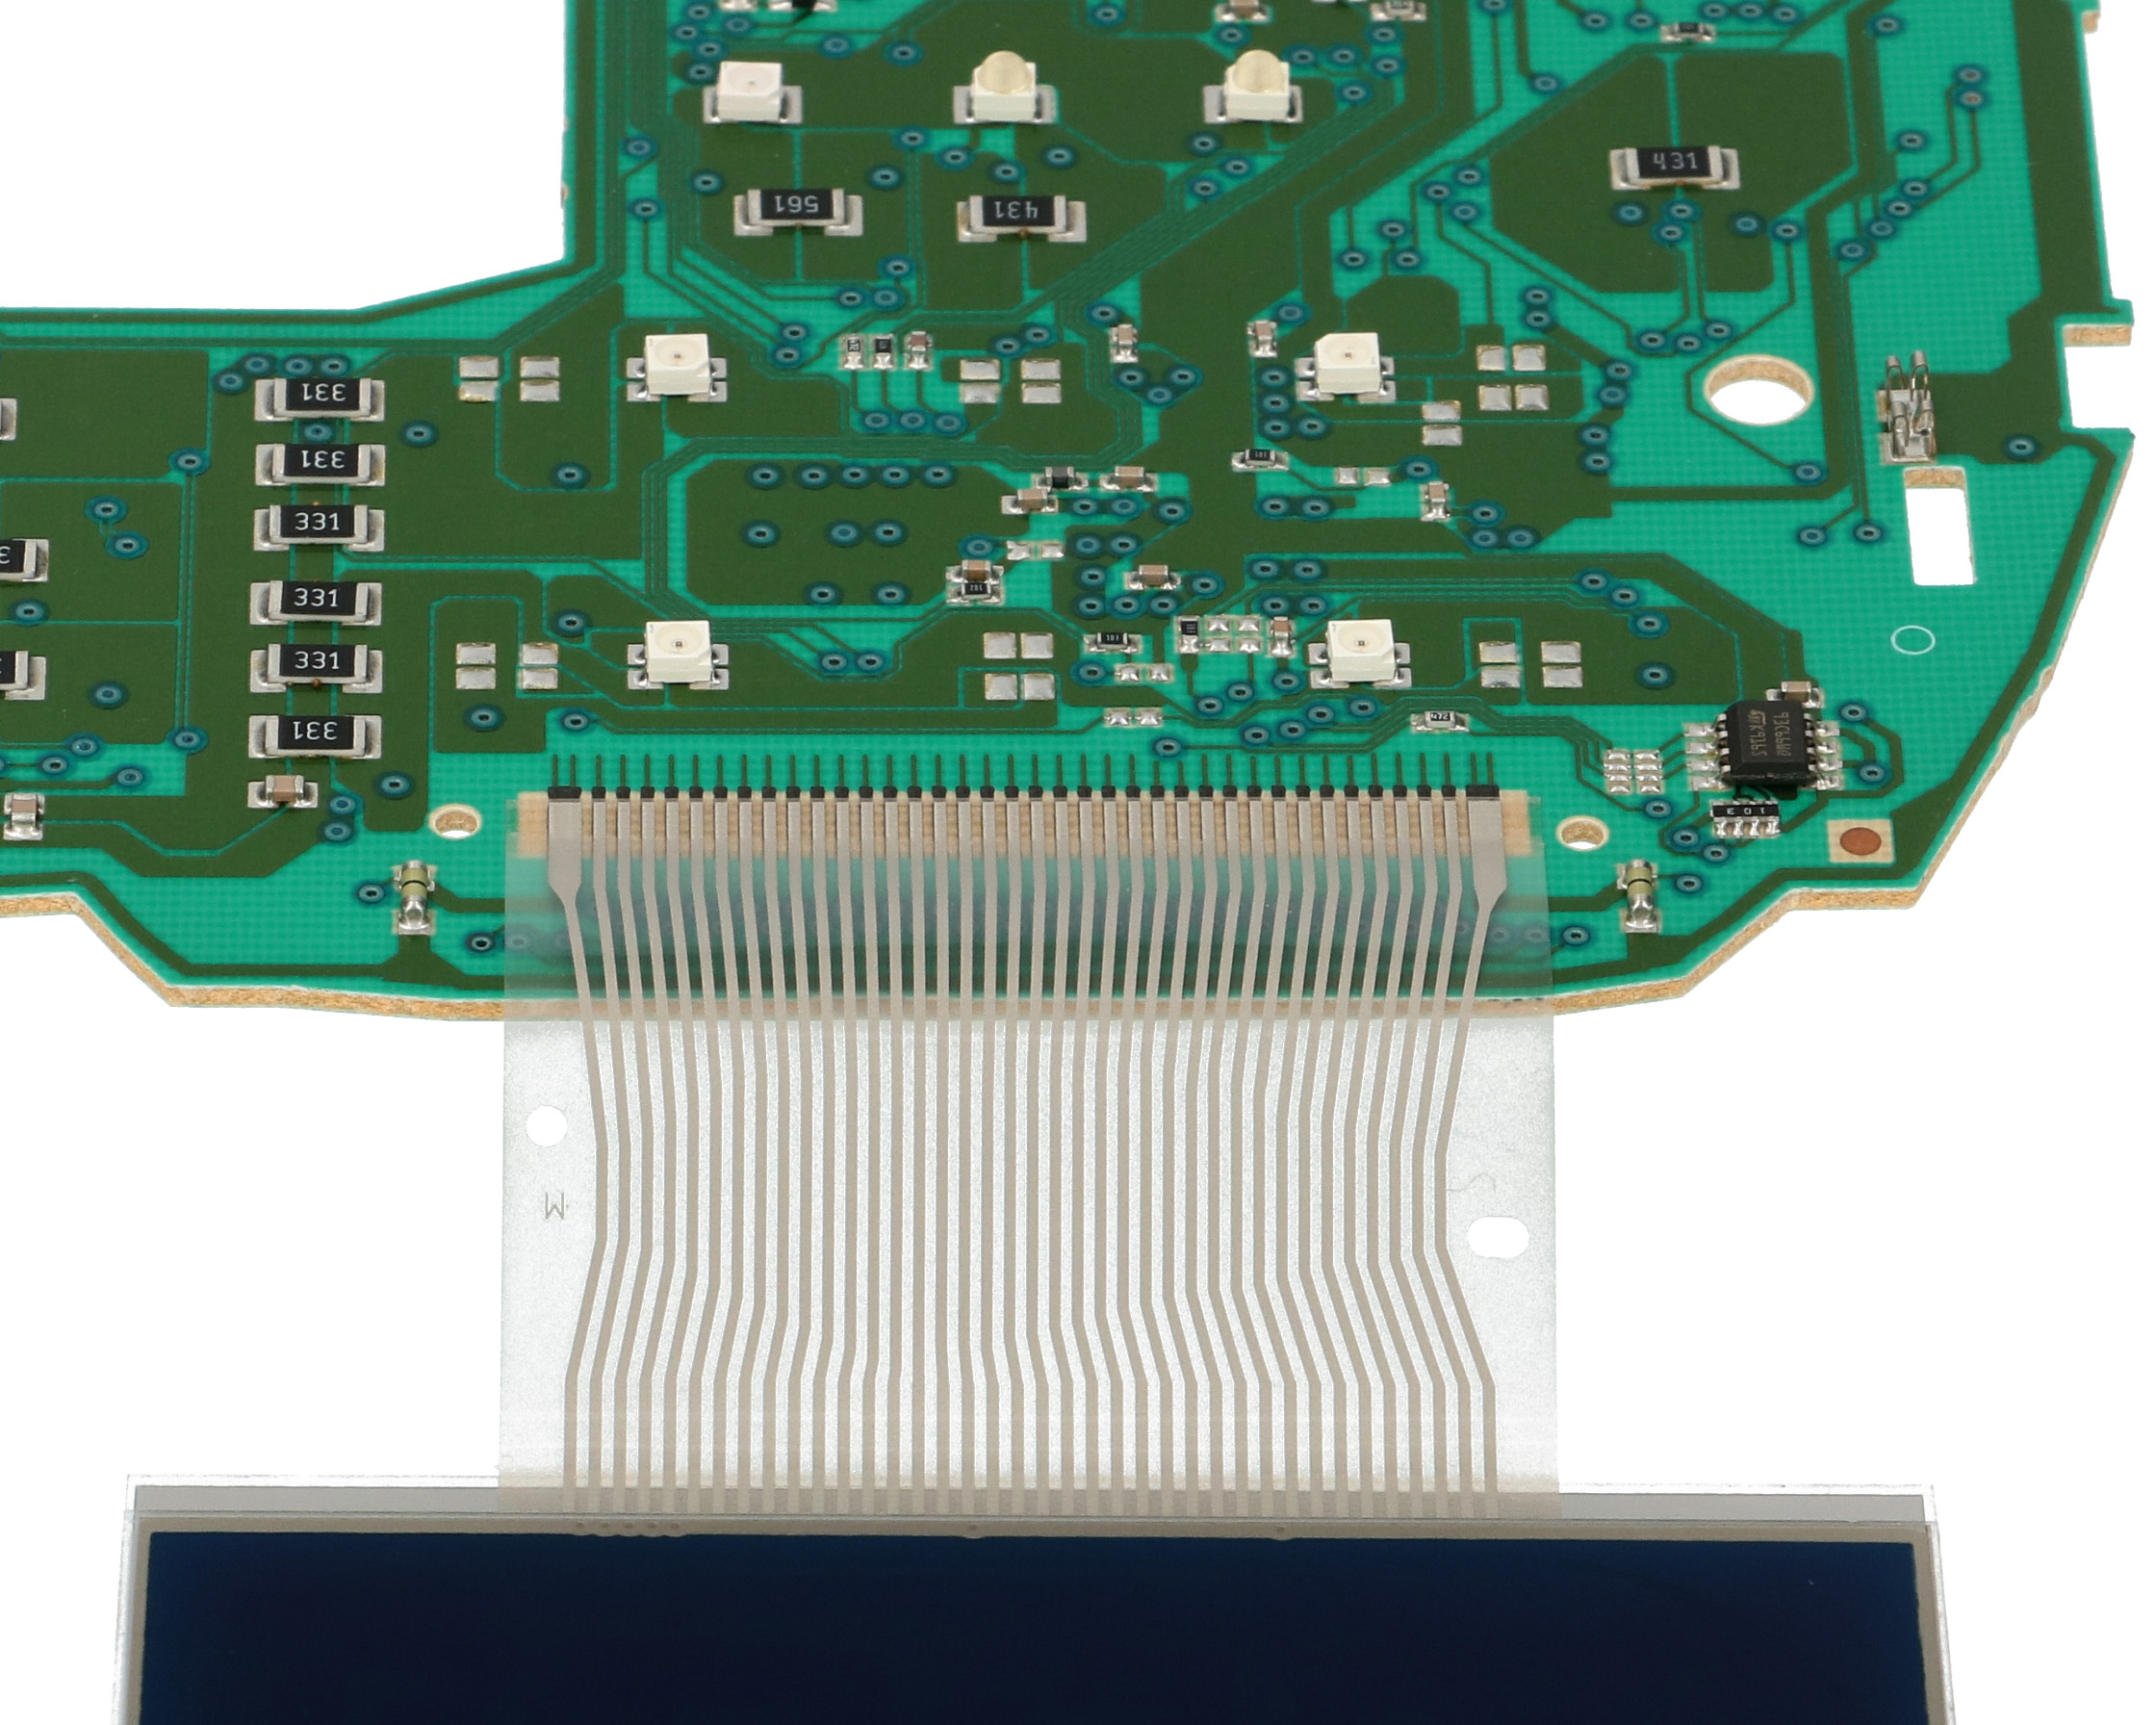
Open the instrument cluster and reach the motherboard as in picture.
2

Detach the flat of the original display from the motherboard using a hot air desoldering iron at under 180°C. Clean the contacts with a specific product (e.g. solvent).
3

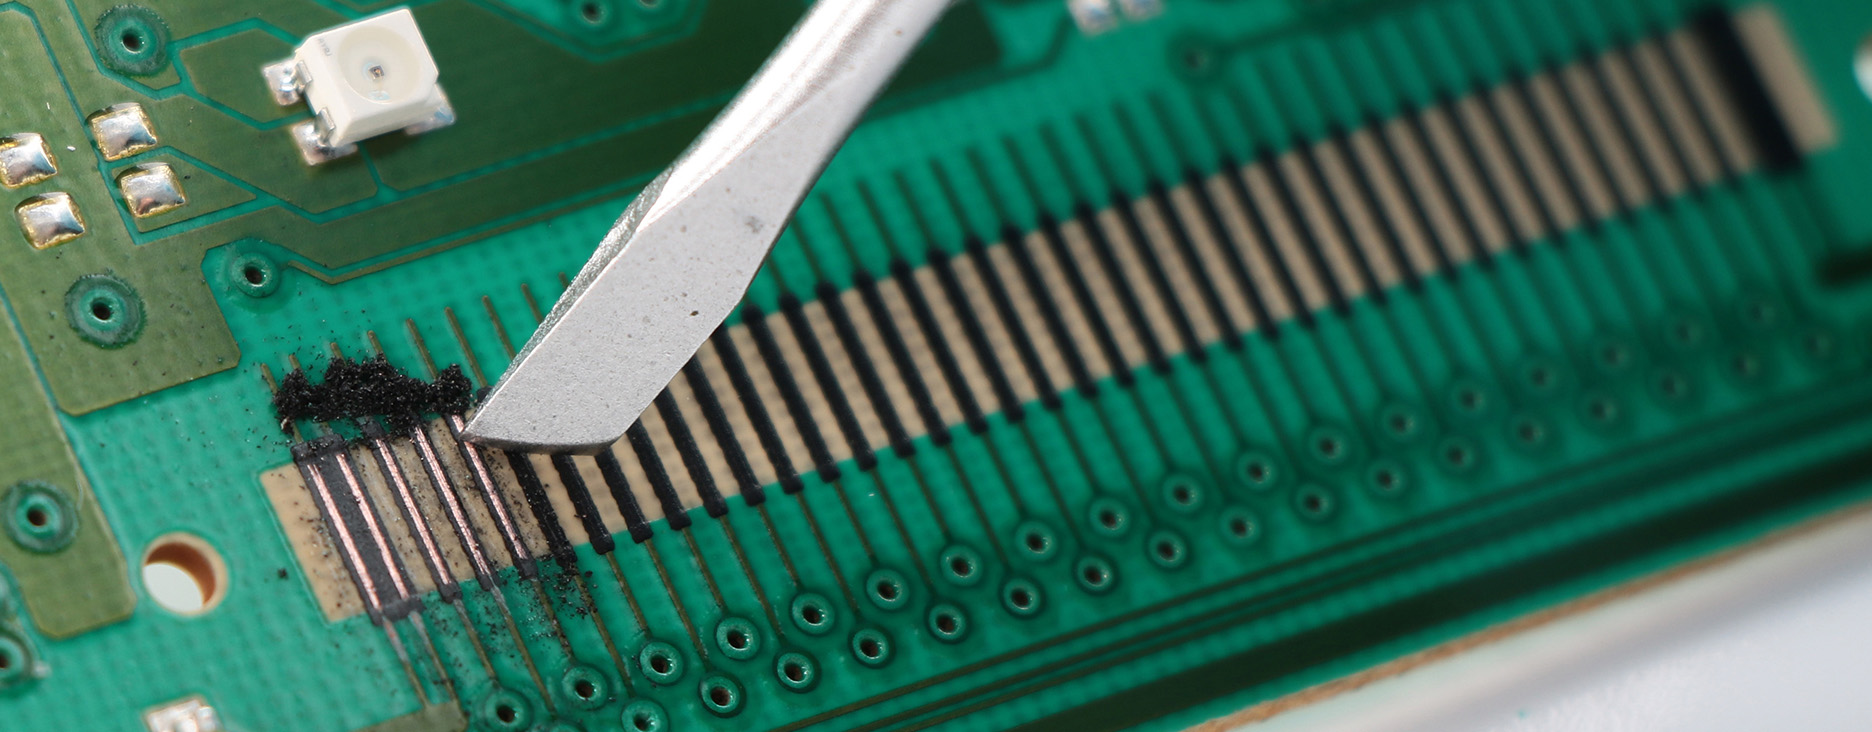
You will notice that the contacts on the motherboard are covered with a graphite patina. The patina must be removed with a scraper in order to solder the FPC of the new display properly.
4
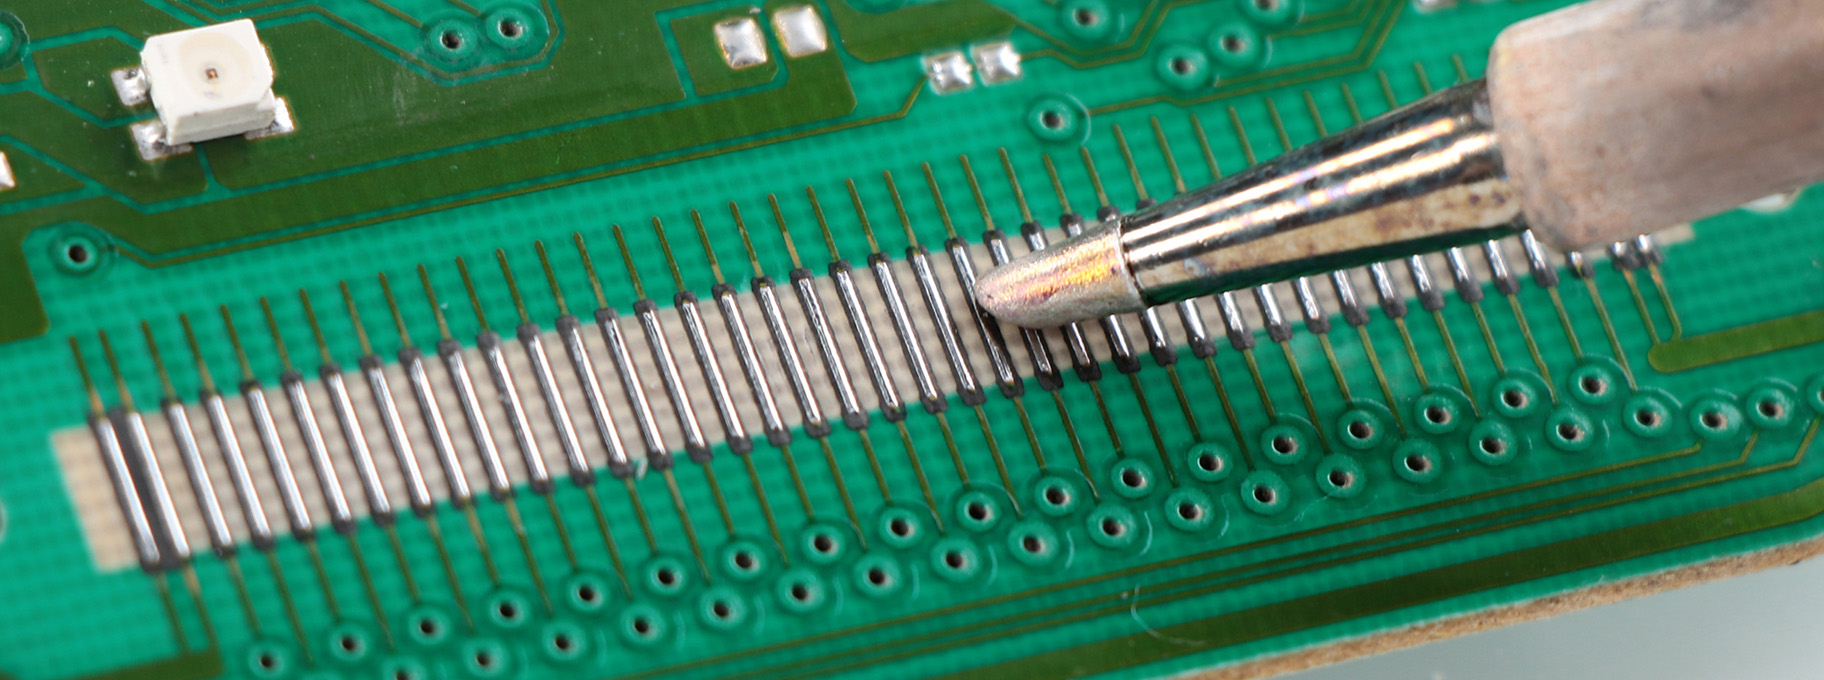

Clean the contacts again from the graphite residues. To facilitate soldering, it is advisable to use on the pins: first the flux, then a bit of solder and, finally, clean the contacts with a specific product (e.g. solvent).
5
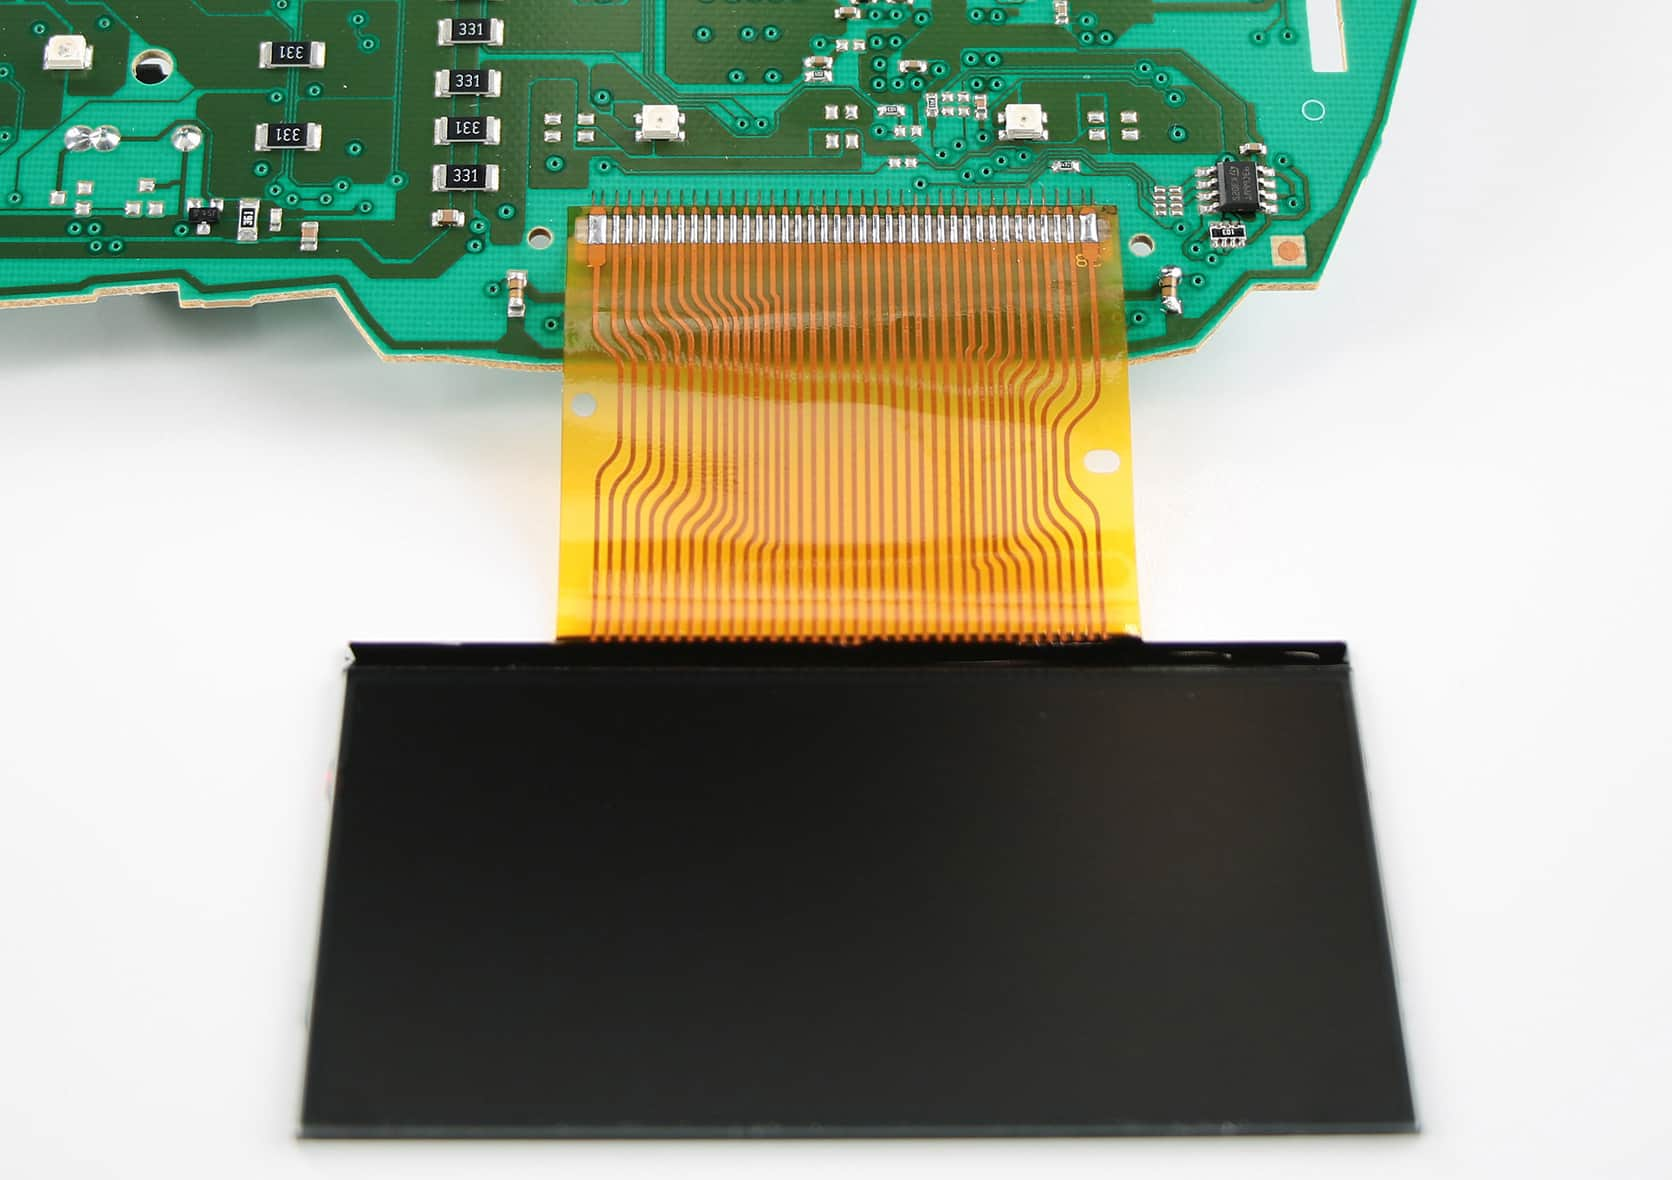
Solder the FPC of the new display to the instrument cluster motherboard using solder wire and a soldering iron at 350°C.
6
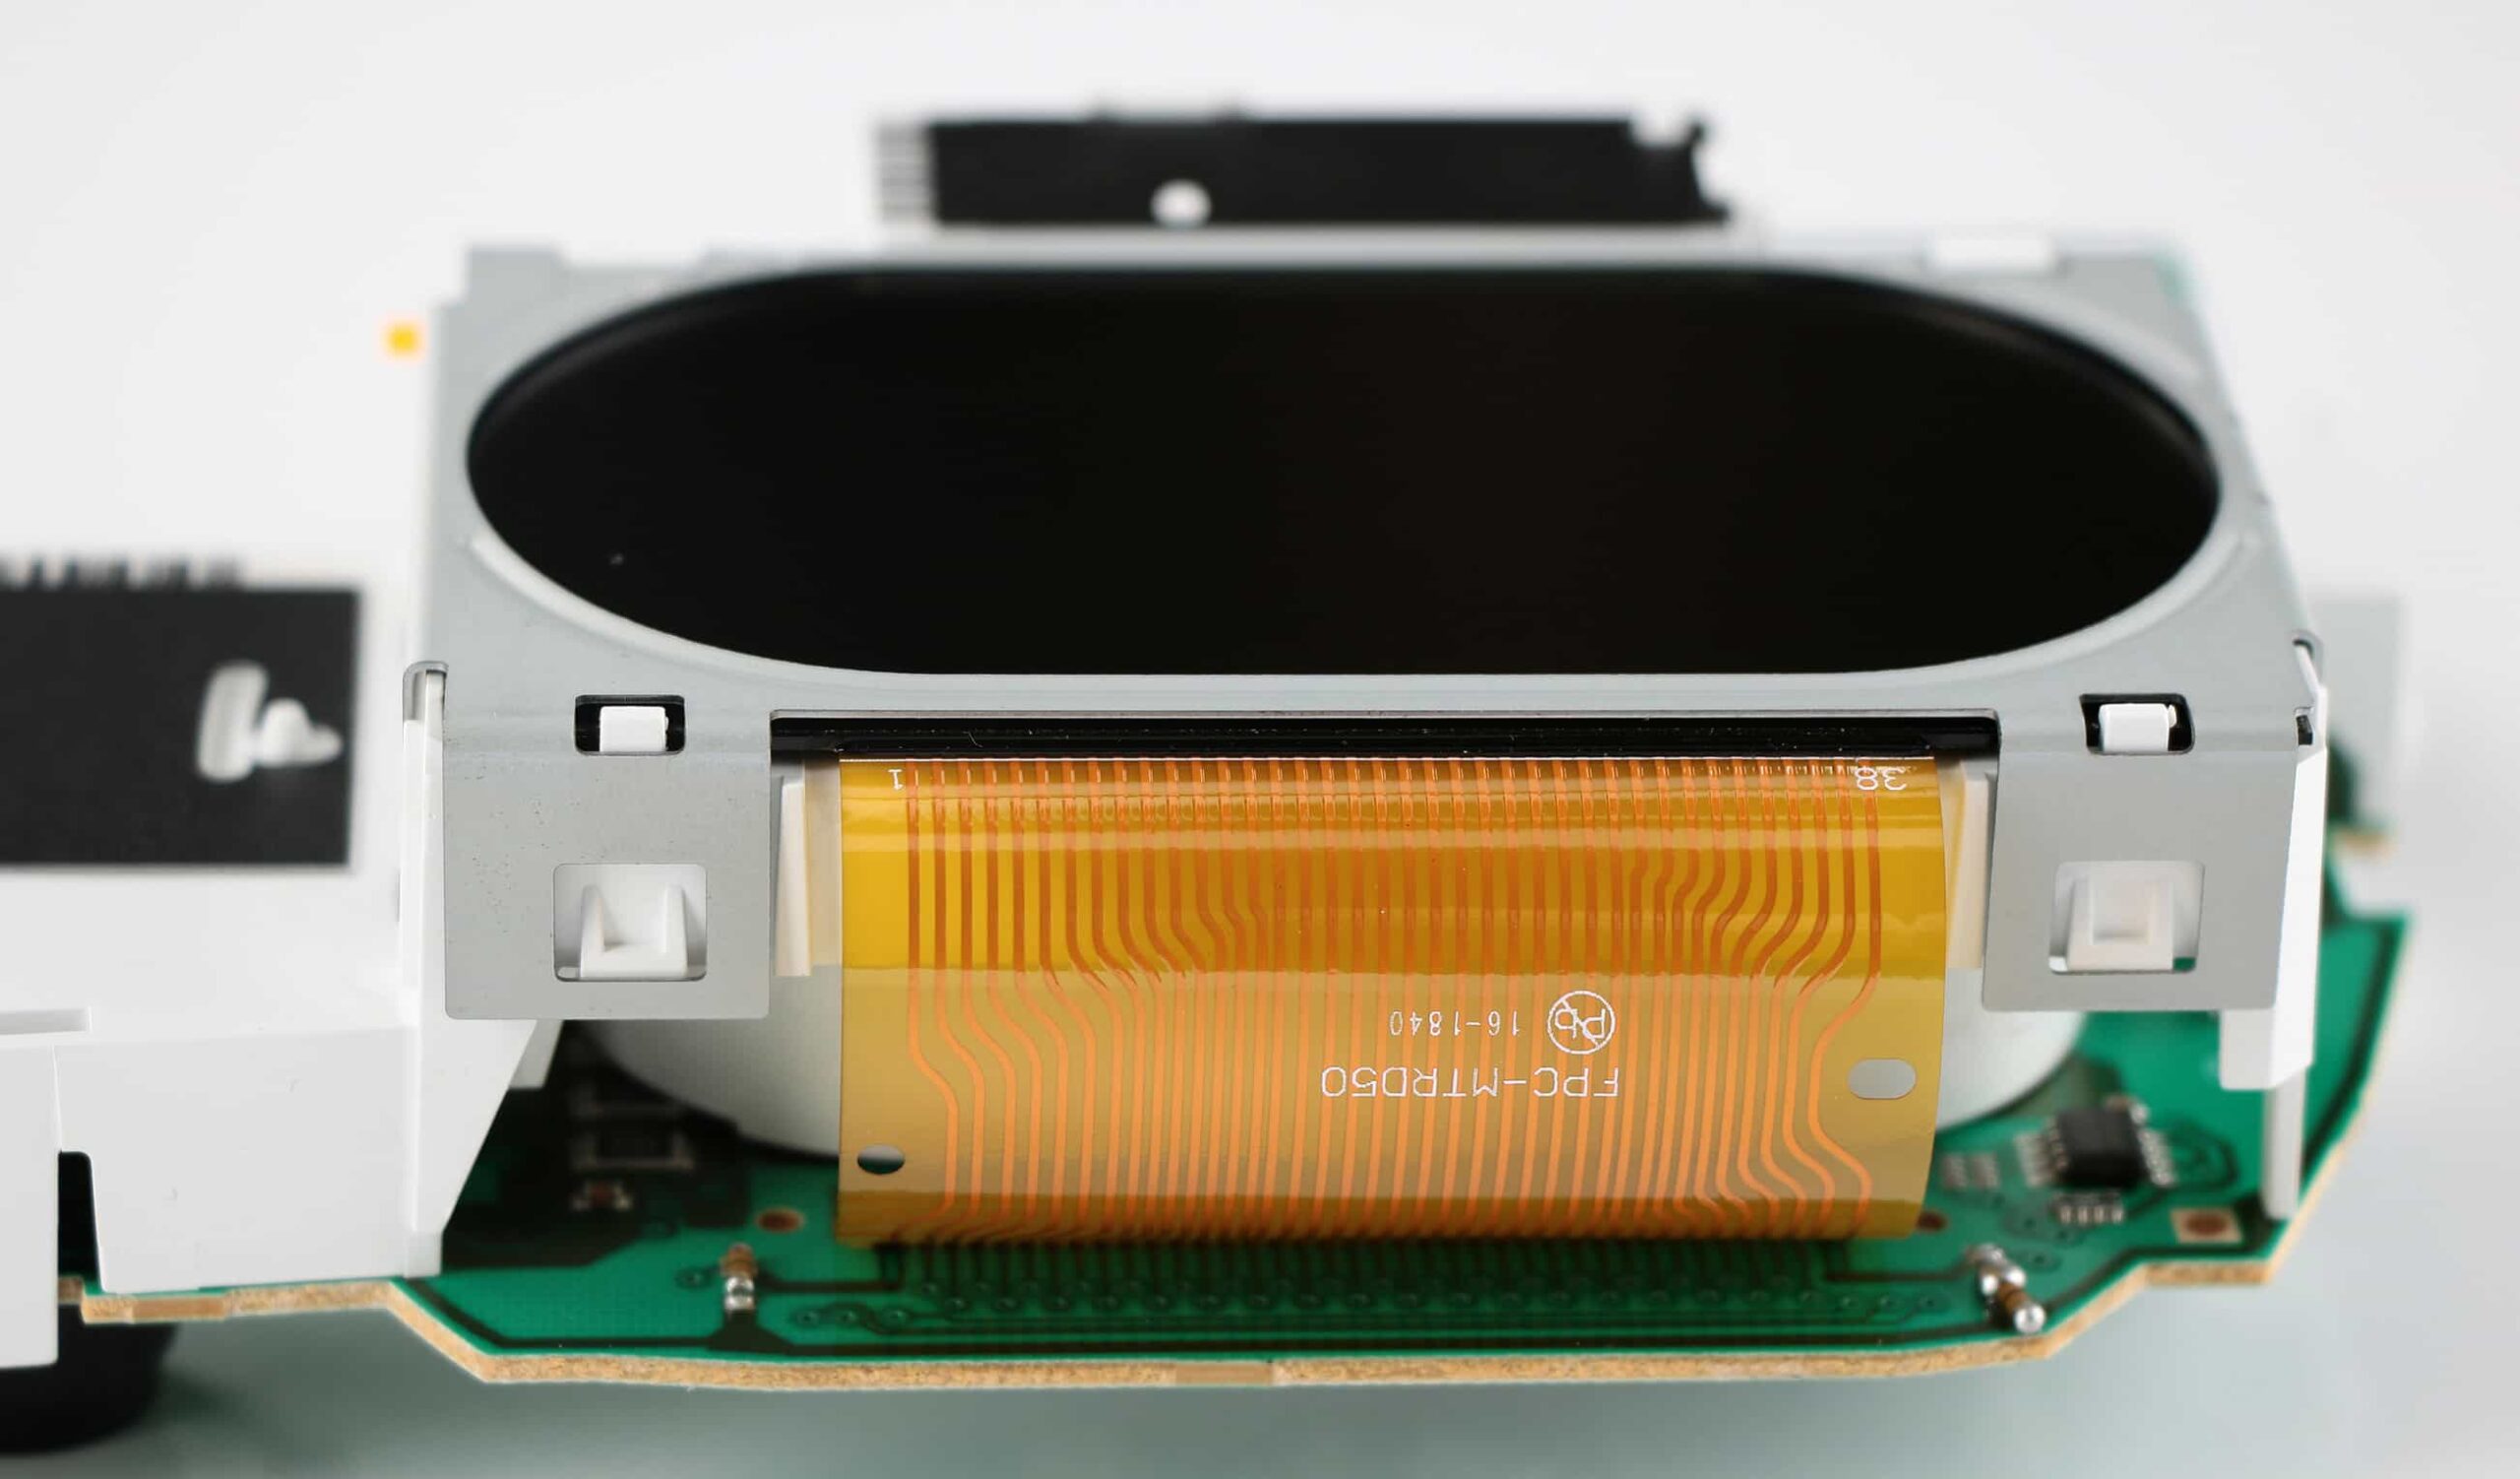
Reassemble everything and test the instrument cluster by supplying power to the black connector:
• pin no. 30: negative
• pin no. 21 and no. 28: positive
