- April 12, 2024
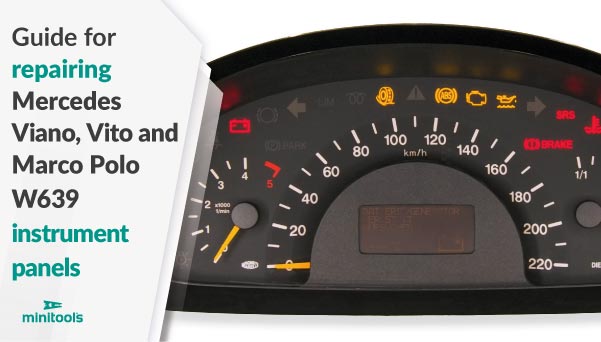
Mercedes Vito W639, Viano W639 and Marco Polo W639 instrument cluster repair (2003-2008 models)
How to repair Mercedes-Benz Viano W639, Viano Marco Polo W639, and Vito W639 instrument panels with unreadable or dim display (models from 2003 to 2008)
Mercedes Vito W639 dashboard LCD screen dimming? Mercedes Viano W639 instrument panel display fading? Mercedes Marco Polo W639 speedometer display unreadable?
If Mercedes Marco Polo W639, Vito W639, Viano W639 LCD display is fading or dimming, it is possible to repair the dashboard with Minitools spare parts for instrument clusters.
Fixing Mercedes-Benz W639 instrument panels is less expensive and faster compared to replacing the whole unit, and avoiding the disposal of the latter it would be an eco-friendly choice.
There are two versions of display for Mercedes W639 2003-2008 speedometer: one with orange FPC, with COG technology, which can be replaced by Minitools product code SEPDISP17B; and one with a green flat cable, which can be repaired using Minitools product code SEPFLAT30.
Minitools technicians have made a step by step guide on how to replace Mercedes Vito W639, Marco Polo W639 and Viano W639 failing LCD screen with the replacement display SEPDISP17B:
Mercedes-Benz Marco Polo, Viano and Vito W639 faulty display replacement – step by step guide:
- Remove Mercedes W639 instrument cluster from the vehicle;
- Undo and remove the rear cover and the front cover with the aid of a spudger;
- Place the gauge face protective disc underneath the side needles and remove them gently rotating and pulling;
- Release the LCD with the aid of a pair of tweezers;
- Unplug the connector below the display housing, which you then remove; and take out the middle needle;
- Release the PCB;
- Detach the tape and, with a hot air desoldering iron, desolder the FPC;
- Remove any tin residues with solder wick and clean the pads with some solvent;
- Position the FPC of the Minitools display as shown in the picture below and fix it with the aid of some Kapton tape;
- Then, solder each pin, one at the time, with a soldering iron with conical tip at 350°C and thin solder wire (USING FLUX IS NOT RECOMMENDED TO INEXPERIENCED STAFF, AS MISUSING IT MAY DAMAGE THE BOARD IRREMEDIABLY);
- Carefully remove the tape and clean with some solvent;
- For the correct functioning of the new display, it is necessary to replace the resistor pointed in the picture below;
- Thermally insulate the components around the resistor with some pieces of Kapton tape;
- With a hot air desoldering iron undo the resistor and remove any tin residues with solder wick;
- Position and solder the resistor supplied with the Minitools kit with a soldering iron with chisel tip at 350° and thin solder wire;
- Remove the Kapton tape and clean with some solvent;
- Peel off the rear protective film from the display, plug in the connector to the plastic base, fit the LCD and remove the front film as well;
- Secure the base with the overlay to the board;
- With the aid of the Minitools shim, push the middle needle at the right level and bring it back to its original position, then do the same with the side needles;
- Fit the display housing and carefully attach the FPC to its related plastic catches as shown in the picture below;
- Put back the front cover and then the rear one;
- Switch on the dashboard (pin 7 and pin 14 positive, pin 8 negative) for a final check before putting it back in the vehicle;
- Perfetto! Problem solved!
Mercedes-Benz Viano W639, Vito W639, Marco Polo W639 dashboards LCD pixel repair – DIY tutorial
To purchase the spare parts for repairing Mercedes Vito and Viano instrument clusters,
Latest articles
- All Posts
- Insights

